|
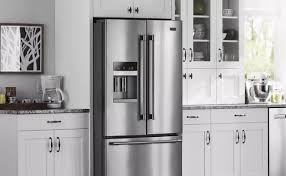
Refrigerator When we install a refrigerator, we begins with measuring the space to ensure a proper fit, accounting for door clearance and ventilation. We'll move the unit into place, ideally near a dedicated electrical outlet (typically 120V). For models with water dispensers or ice makers, we connect the water line to a nearby shut-off valve using a copper pipe or PEX line, ensuring no leaks. Finally we level the refrigerator using adjustable feet to prevent rocking, and plug it in to start cooling. Allow 24 hours for optimal temperature stabilization. |
|
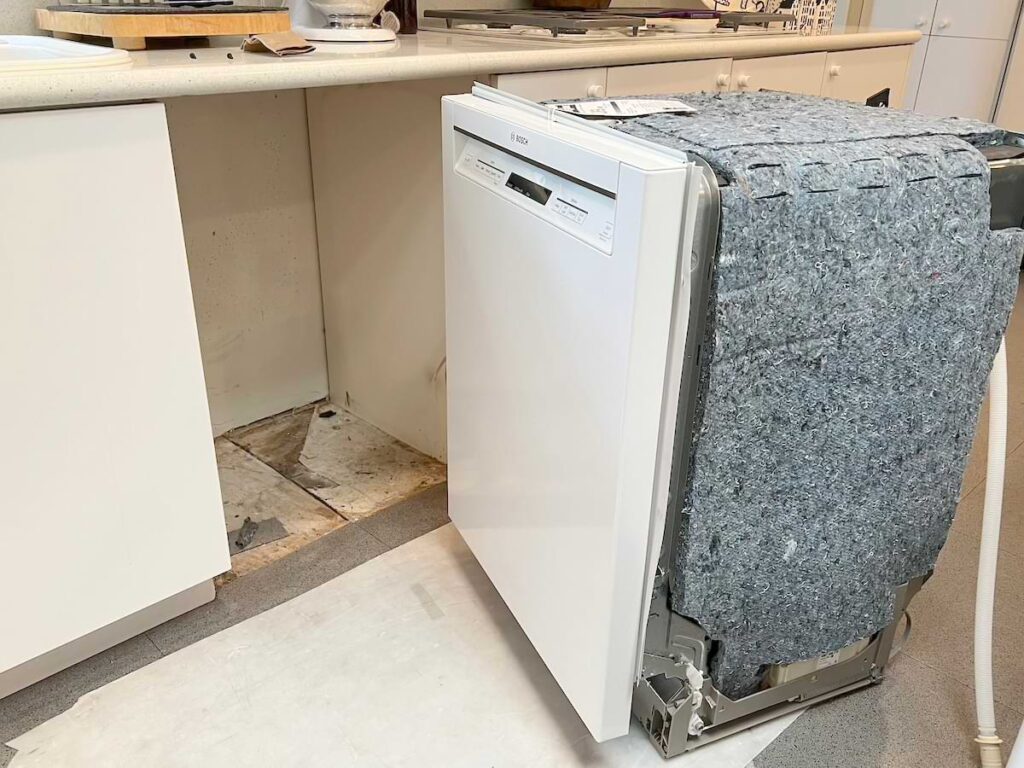
Dishwasher Our dishwasher installation starts with verifying the space under the countertop and access to plumbing and a 120V electrical outlet. We connect the water supply line to the inlet valve and attach the drain hose to the sink drain or garbage disposal, ensuring a high loop to prevent backflow. We secure the dishwasher to the countertop or cabinets with mounting brackets and check for level alignment. Finally there is a test the water and drain connections for leaks before running a test cycle. |
|
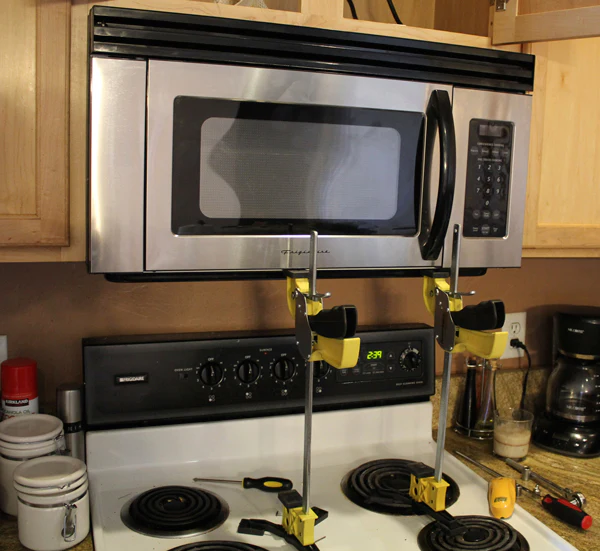
Microwave For a microwave, ensure the designated space matches the unit’s dimensions and has a nearby 120V outlet. For over-the-range models, we have to hang the microwave securely by removing the old range hood, mount the bracket to wall studs, and screwing the microwave to the brackets. We can connect the exhaust duct if applicable for ventilation and run any necessary tests. Countertop microwaves simply require a stable, level surface near an outlet. |
|
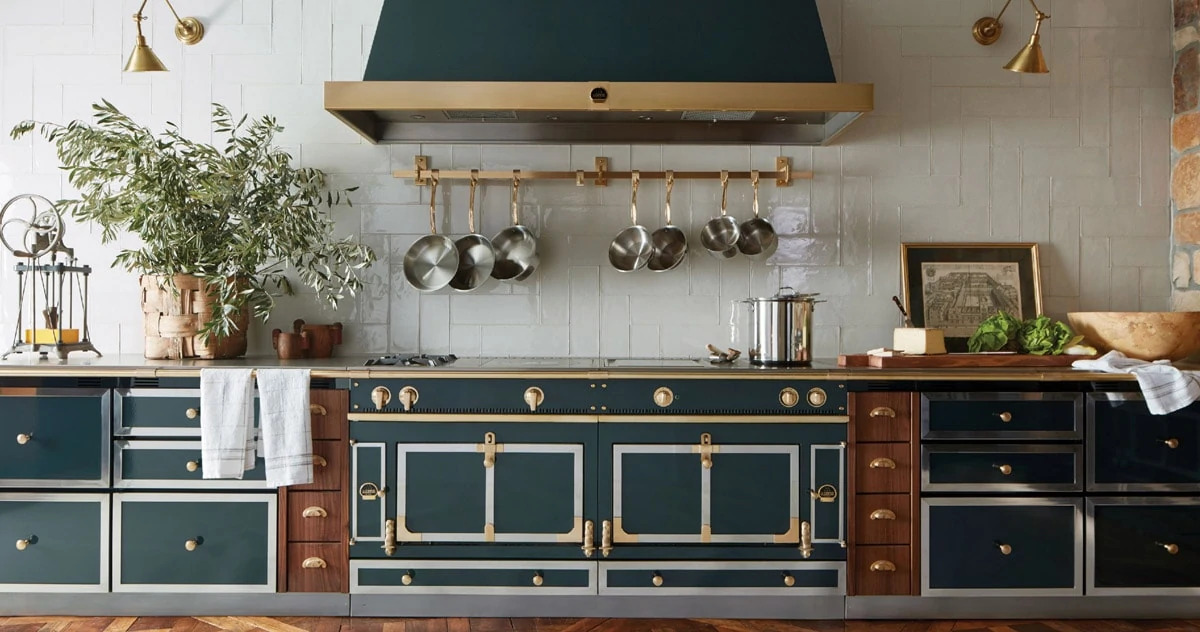
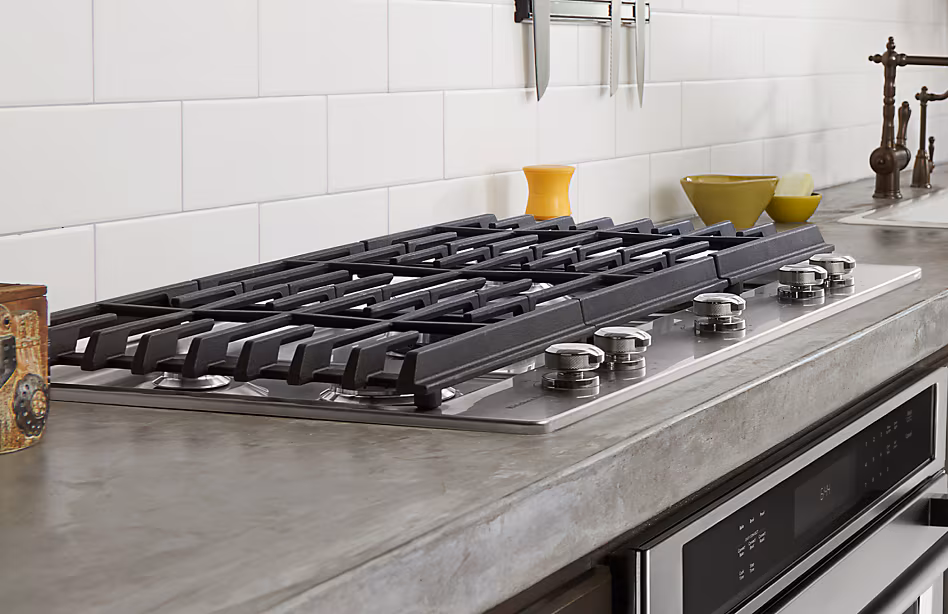
Stovetop Installing a stove top (or cooktop) involves measuring the cutout space in the countertop and ensuring proper electrical (240V for electric) or gas connections. Drop the cooktop into the cutout, securing it with clips or brackets provided. For electric models, connect the wiring to a dedicated circuit; for gas, attach the gas line and check for leaks. Seal the edges with silicone if needed, test all burners, and confirm proper operation. |
|
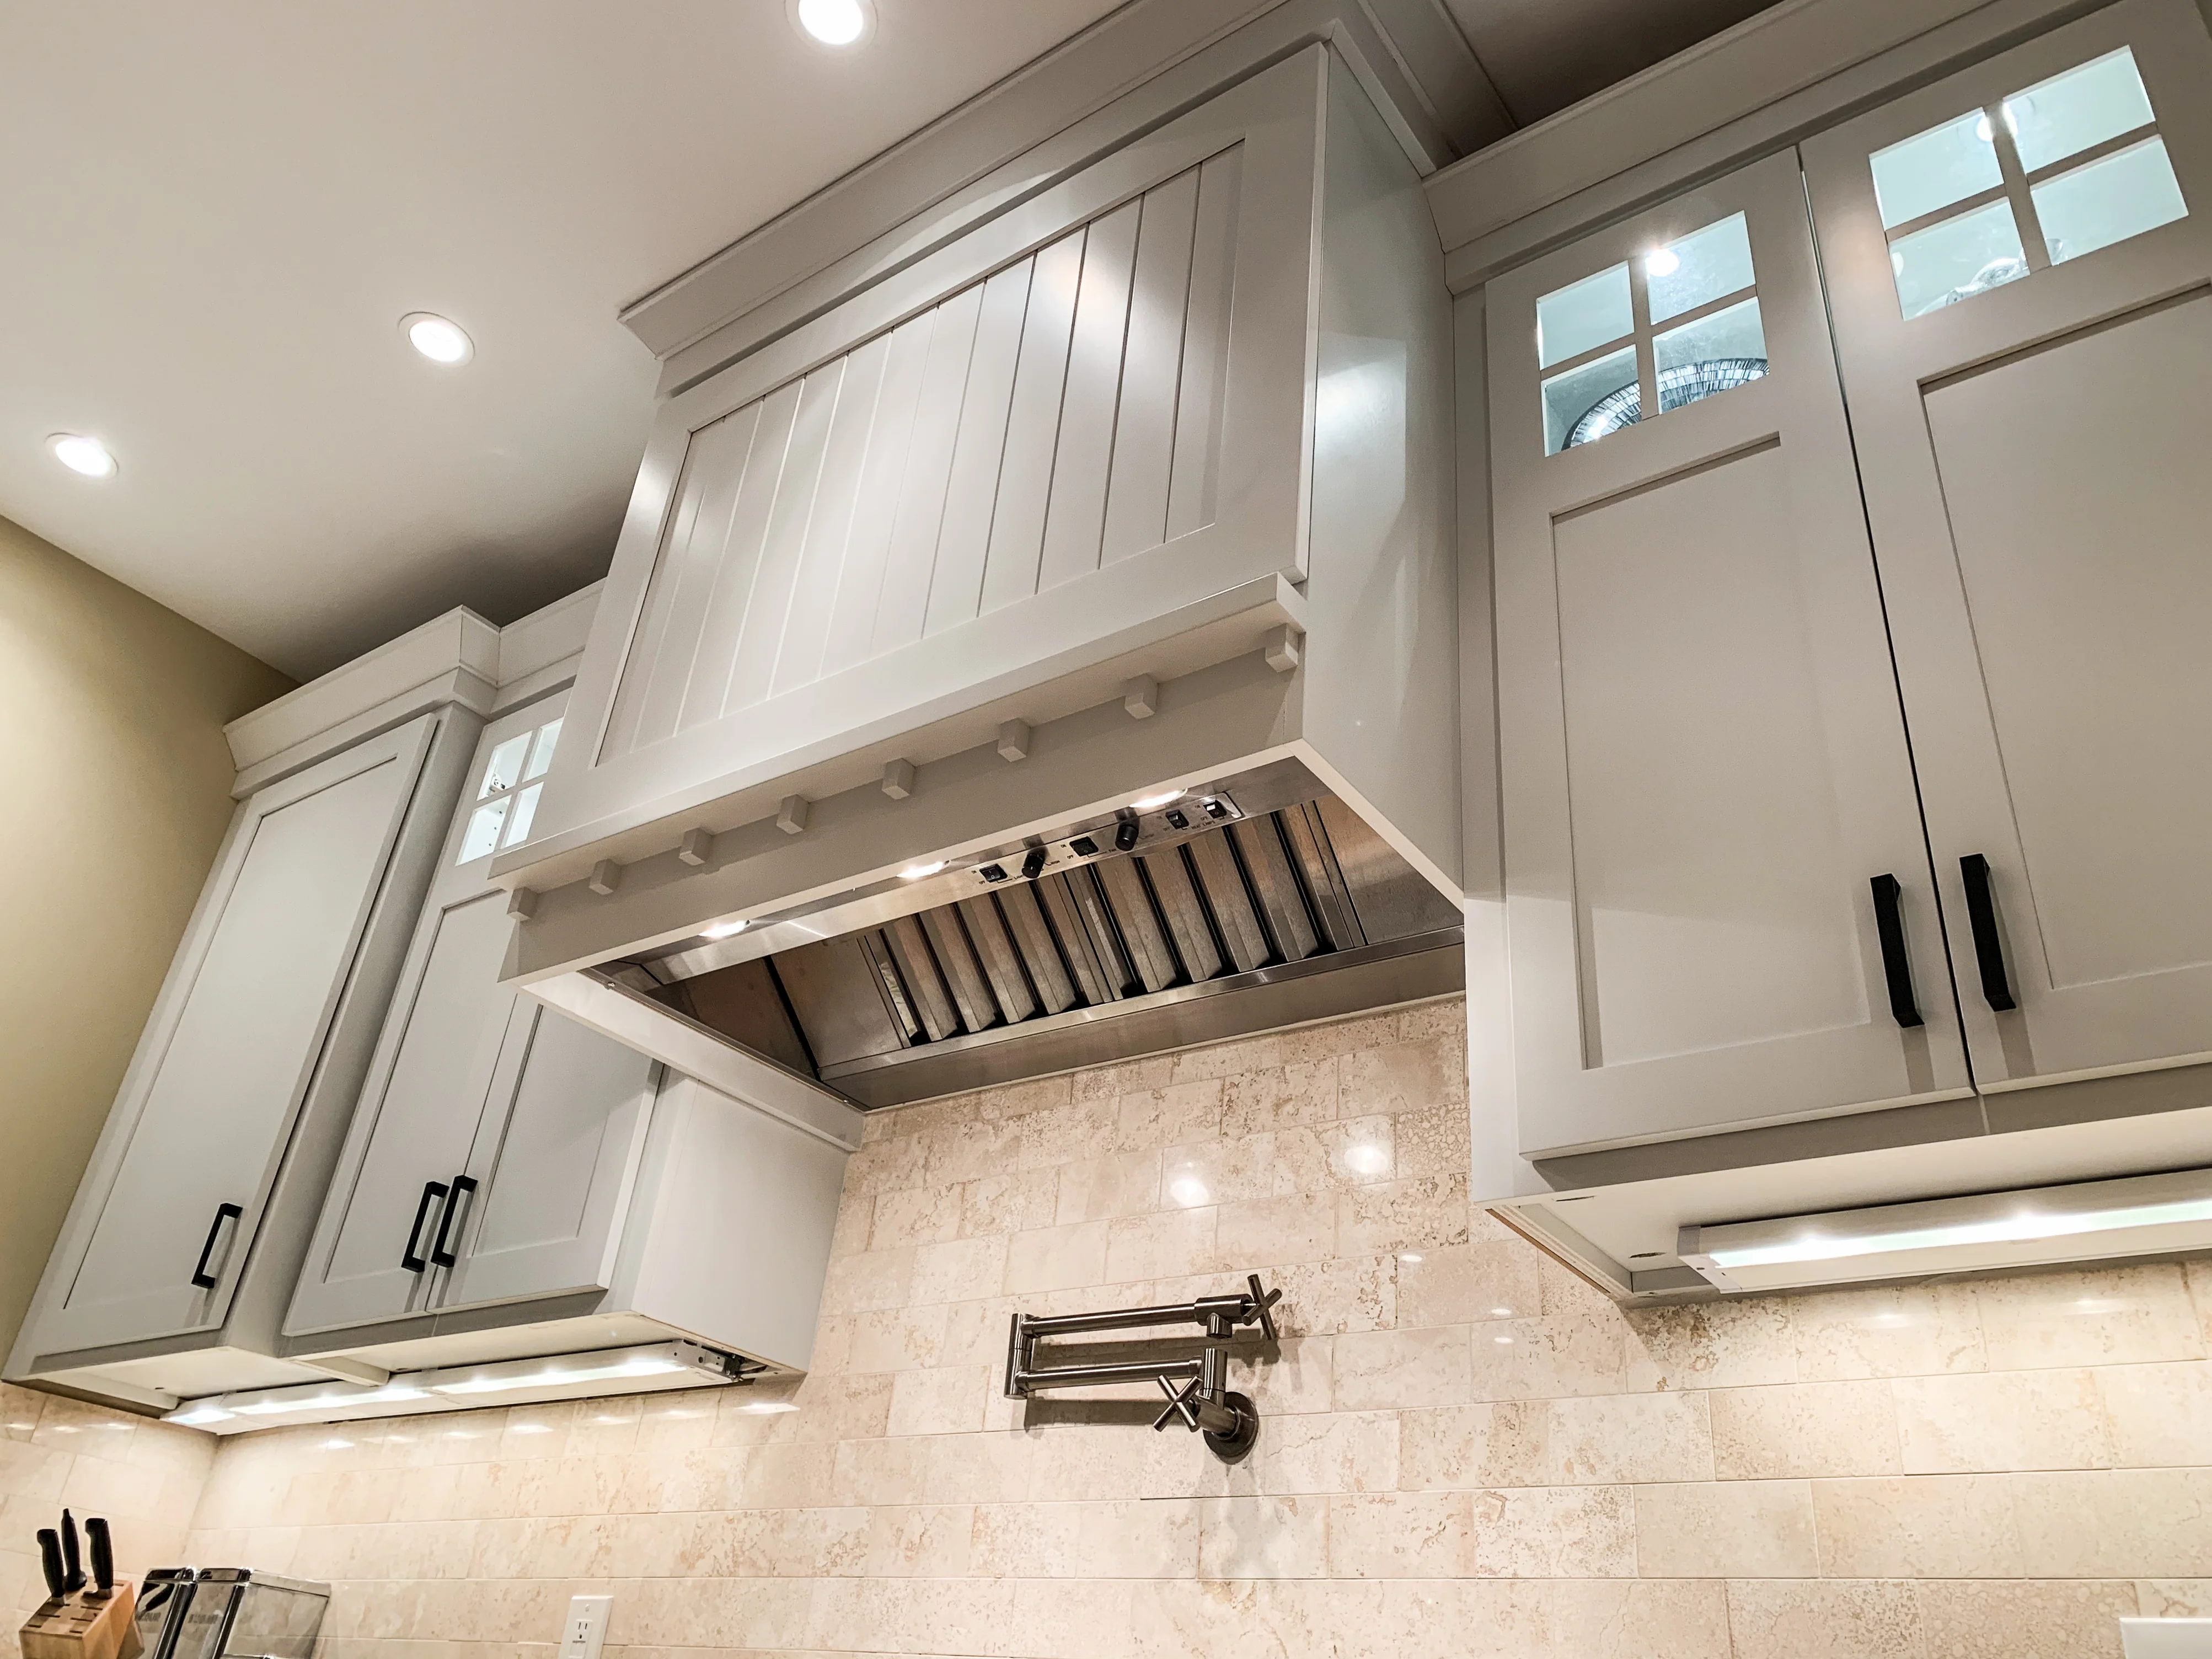
Range hood Range hood installation begins with checking the space above the stove for proper fit and access to a 120V outlet or hardwired connection. Mount the hood to the wall or cabinet using a bracket, ensuring alignment with the cooktop. Connect the ductwork for vented models to direct air outside, or install a charcoal filter for ductless models. Secure electrical connections, test the fan and lights, and confirm proper ventilation before use. |
|